Setup Guide
Follow these 3 simple steps so your receipts can be automatically logged to a Google Sheet.
~2 minutes
Super easy
1
1Create a Google Sheet
OR DO IT MANUALLY
- Go to sheets.google.com
- Click the big + to create a blank spreadsheet
- Name it something like "My Receipts"
- In the first row, add these column headers (Optional):
A B C D E F Timestamp Phone Merchant Date Total Image URL
2
2Share the Sheet
- Click the "Share" button (top-right corner of your sheet)
- Paste this email into the "Add people" field:
receipt-ripper-sheets@modern-saga-489713-h7.iam.gserviceaccount.com - Set permission to "Editor"
- Click "Share"
3
3Save Your Spreadsheet ID
1. Copy the URL or ID of your Google Sheet. It looks like this:
https://docs.google.com/spreadsheets/d/1NJfGHp6Tof7eApR_cbZwo9CKCPUNKbnYz8-iSdNqrw8/edit
Here is where you can enter it:
Option 1: During Account Creation
You can paste it when you first sign up.
Click here to go to the Account Creation page ↗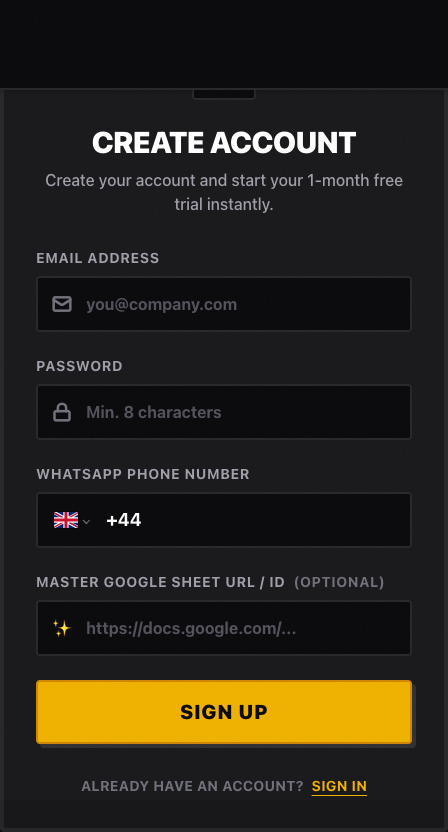
Option 2: In Your Dashboard Settings
If you already have an account, you can update it in your settings at any time.
Click here to go to your Dashboard Settings ↗Master Google Sheet
Your default spreadsheet for storing receipts. Enter the full URL or ID below.
Edit
Copy Starter Template
Read Guide
Current Default Sheet
1NJfGHp6Tof7eApR_cbZwo9CKCPUNKbnYz8-iSdNqrw8
That's It!
Once your Spreadsheet ID is saved to your account, your receipts will start flowing into the sheet automatically.
Something Not Working?
"You need permission"
Make sure you completed Step 2 — the sheet must be shared with the exact email address.
Receipts not appearing
Double-check your Spreadsheet ID is correct (Step 3) and saved to your account.